03 — Build Code
Dyno Code
The actual code behind each version, as I build it
V0 — Just Testing the Sensor
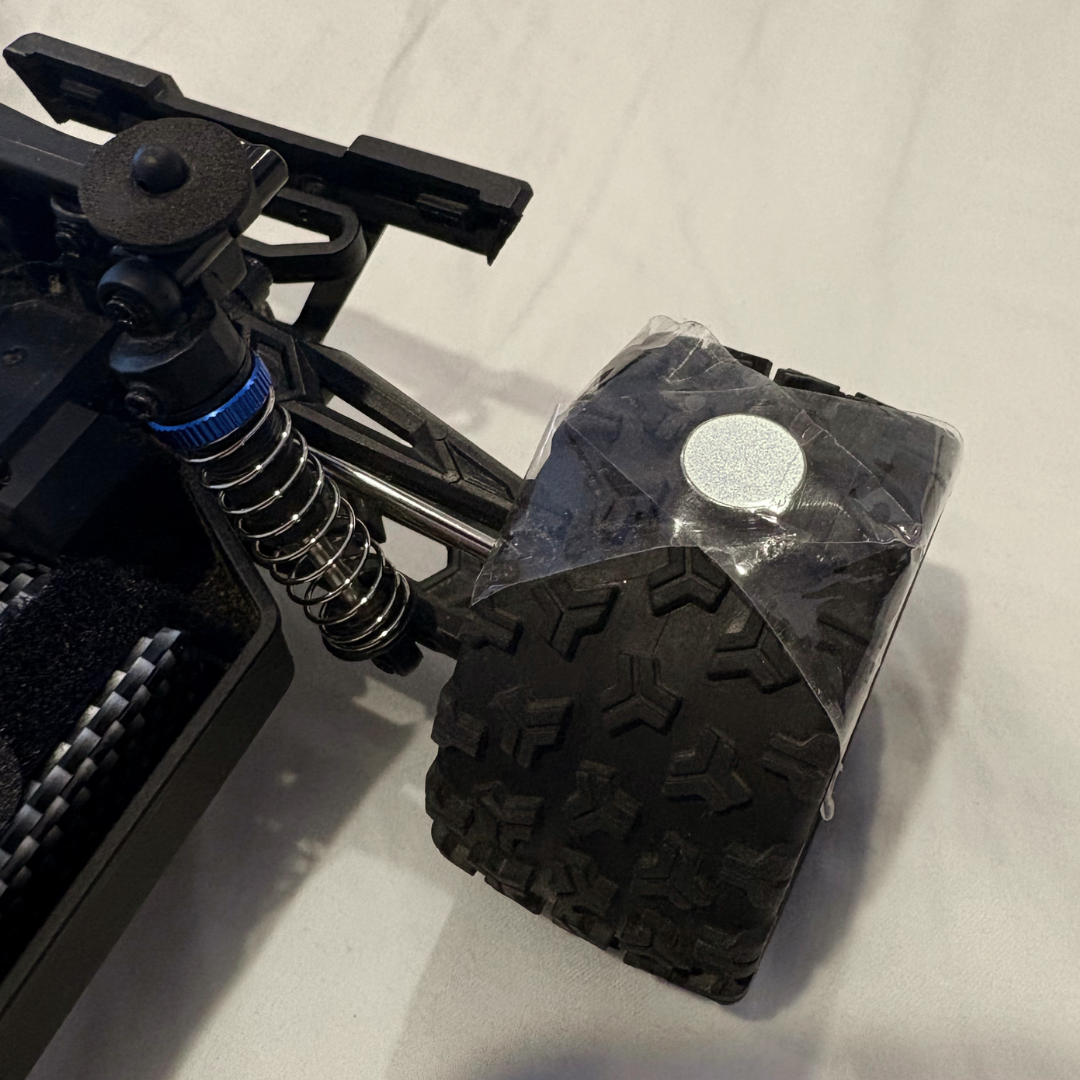
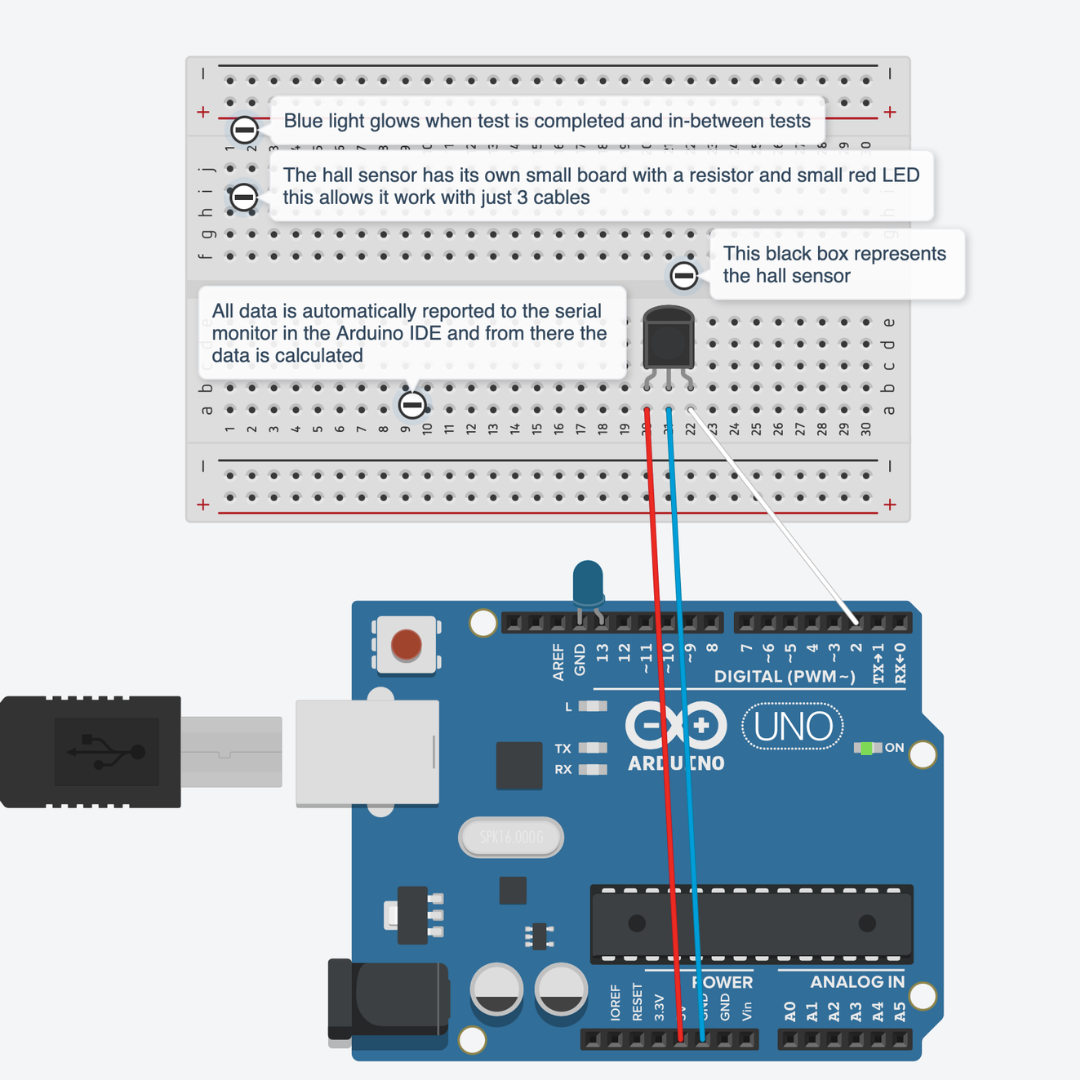
This isn't even a real dyno sketch, it's literally just checking if the Hall sensor works. I'd pass a magnet over it and watch the Serial output flip between ON and OFF. This is also how I learned that only one side of the magnet actually triggers the sensor — flip it around and it does nothing.
const int hallPin = 2;

void setup() {
  pinMode(hallPin, INPUT);
  Serial.begin(9600);
}

void loop() {
  if (digitalRead(hallPin) == LOW) {
    Serial.println("ON");
  } else {
    Serial.println("OFF");
  }

  delay(100);
}
V1 — Hall Sensor RPM & Speed Reader
Reads pulses off the Hall sensor, turns them into RPM and MPH, and tracks a full run on its own — an LED lights up while it's running and switches over once the wheel's been still for 2 seconds, so I get max/average stats per run without touching a laptop.
const int hallPin = 2;

const int runningLed = 8;
const int finishedLed = 13;

volatile long pulseCount = 0;

unsigned long lastCalcTime = 0;
unsigned long lastPulseTime = 0;
unsigned long sessionStart = 0;

const int interval = 500;   // RPM update rate
const int timeout = 2000;   // stop if no pulses for 2 sec

const float wheelDiameterInches = 2.67717; // CHANGE THIS

bool sessionActive = false;

long rpmSum = 0;
int rpmSamples = 0;

int maxRPM = 0;
float maxMPH = 0;

void setup() {
  pinMode(hallPin, INPUT);

  pinMode(runningLed, OUTPUT);
  pinMode(finishedLed, OUTPUT);

  digitalWrite(runningLed, LOW);
  digitalWrite(finishedLed, HIGH);

  Serial.begin(9600);
  Serial.println("RC RPM System Ready");

  attachInterrupt(digitalPinToInterrupt(hallPin), countPulse, FALLING);
}

void loop() {
  unsigned long now = millis();

  // ---- RPM CALC ----
  if (now - lastCalcTime >= interval) {
    lastCalcTime = now;

    long pulses = pulseCount;
    pulseCount = 0;

    int rpm = pulses * 120; // 500ms window scaling

    if (rpm > 0) {

      lastPulseTime = now;

      // START SESSION
      if (!sessionActive) {
        sessionActive = true;

        digitalWrite(runningLed, HIGH);
        digitalWrite(finishedLed, LOW);

        sessionStart = now;

        rpmSum = 0;
        rpmSamples = 0;
        maxRPM = 0;
        maxMPH = 0;

        Serial.println("=== RUN STARTED ===");
      }

      rpmSum += rpm;
      rpmSamples++;

      if (rpm > maxRPM) {
        maxRPM = rpm;
      }

      float circumference = wheelDiameterInches * 3.14159;
      float mph = rpm * circumference * 60.0 / 63360.0;

      if (mph > maxMPH) {
        maxMPH = mph;
      }

      Serial.print("RPM: ");
      Serial.print(rpm);
      Serial.print(" | MPH: ");
      Serial.println(mph, 2);
    }
  }

  // ---- END SESSION ----
  if (sessionActive && (now - lastPulseTime > timeout)) {

    sessionActive = false;

    digitalWrite(runningLed, LOW);
    digitalWrite(finishedLed, HIGH);

    float avgRPM = (rpmSamples > 0) ? (float)rpmSum / rpmSamples : 0;

    float circumference = wheelDiameterInches * 3.14159;
    float avgMPH = avgRPM * circumference * 60.0 / 63360.0;

    float runTime = (now - sessionStart) / 1000.0;

    Serial.println();
    Serial.println("===== RUN COMPLETE =====");

    Serial.print("Run Time (s): ");
    Serial.println(runTime, 2);

    Serial.print("Average RPM: ");
    Serial.println(avgRPM, 1);

    Serial.print("Max RPM: ");
    Serial.println(maxRPM);

    Serial.print("Average MPH: ");
    Serial.println(avgMPH, 2);

    Serial.print("Max MPH: ");
    Serial.println(maxMPH, 2);

    Serial.println("========================");
    Serial.println();
  }
}

// ---- INTERRUPT ----
void countPulse() {
  pulseCount++;
}
V2 — Roller Dyno with Auto Run Detection
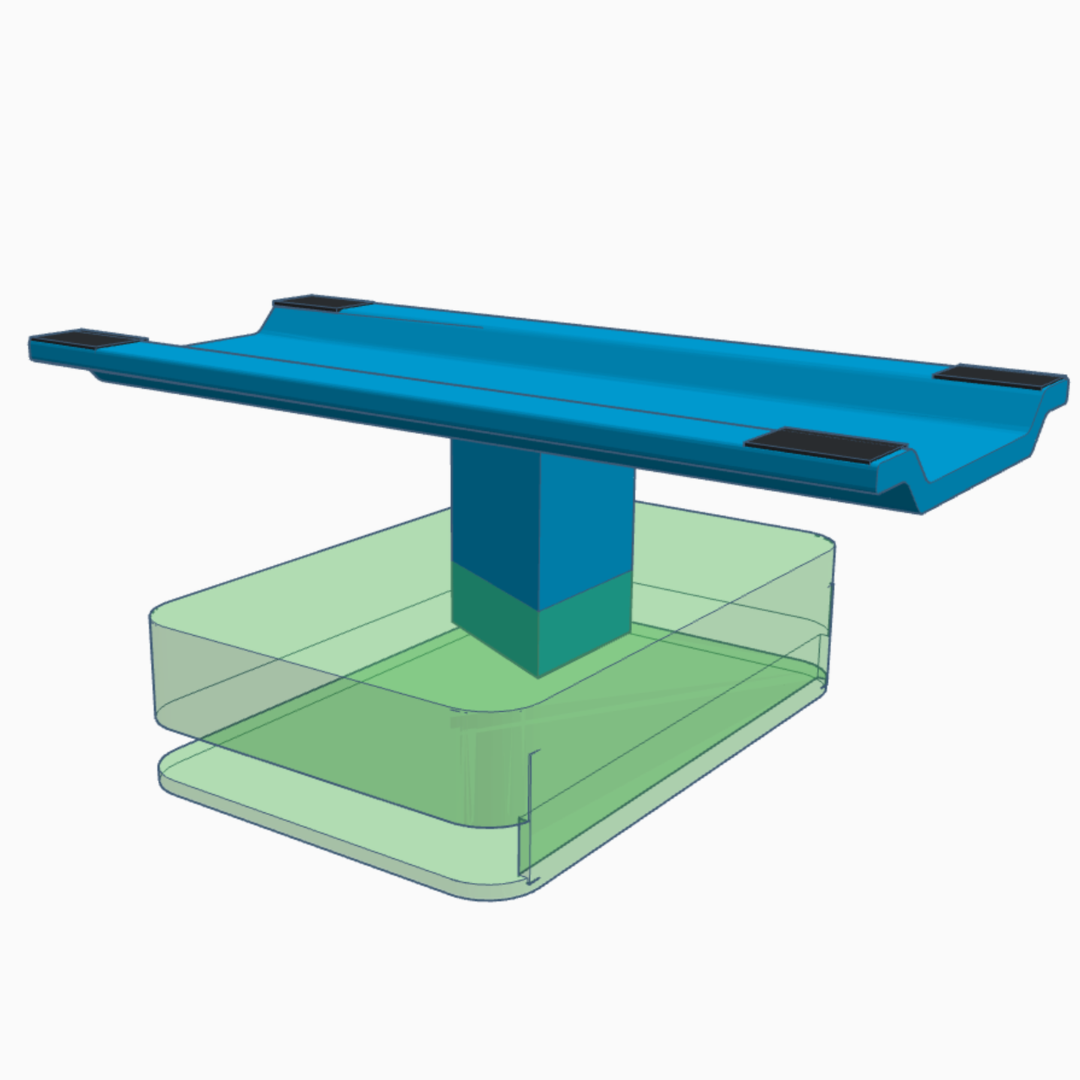
Rewrote this for the roller rig. A run starts on its own the second it picks up a Hall signal, throws out the first 5 seconds (that's just spin-up), and reports average/max RPM and MPH once the roller's been still for 2 seconds or 30 seconds have passed, whichever comes first.
const int hallPin = 2;

const int runningLed = 8;
const int finishedLed = 13;

// =========================
// SETTINGS
// =========================

const unsigned long TEST_DURATION = 30000;     // 30 seconds
const unsigned long STARTUP_EXCLUSION = 5000;  // Ignore first 5 sec in averages

const unsigned long RPM_INTERVAL = 500;        // Calculate every 0.5 sec

const int ZERO_INTERVAL_LIMIT = 4;             // 4 × 500ms = 2 seconds

const float rollerDiameterMM = 25.0;            // Your roller diameter
const int magnetsPerRevolution = 1;

// =========================
// VARIABLES
// =========================

volatile long pulseCount = 0;

unsigned long lastCalcTime = 0;
unsigned long runStartTime = 0;

bool runActive = false;

int zeroIntervals = 0;

// Statistics
long rpmSum = 0;
int rpmSamples = 0;

int maxRPM = 0;
float maxMPH = 0;

// =========================
// SETUP
// =========================

void setup() {

  pinMode(hallPin, INPUT);

  pinMode(runningLed, OUTPUT);
  pinMode(finishedLed, OUTPUT);

  digitalWrite(runningLed, LOW);
  digitalWrite(finishedLed, HIGH);

  Serial.begin(9600);

  Serial.println();
  Serial.println("================================");
  Serial.println("      RC ROLLER DYNO V2");
  Serial.println("================================");
  Serial.println("Ready.");
  Serial.println("Waiting for first Hall signal...");
  Serial.println();

  attachInterrupt(
    digitalPinToInterrupt(hallPin),
    countPulse,
    FALLING
  );
}

// =========================
// MAIN LOOP
// =========================

void loop() {

  unsigned long now = millis();

  // ---------------------------------
  // CALCULATE RPM EVERY 500ms
  // ---------------------------------

  if (now - lastCalcTime >= RPM_INTERVAL) {

    lastCalcTime = now;

    // Safely copy pulse count
    noInterrupts();

    long pulses = pulseCount;
    pulseCount = 0;

    interrupts();

    // ---------------------------------
    // IF RUN IS NOT ACTIVE
    // ---------------------------------

    if (!runActive) {

      // First Hall signal starts the run
      if (pulses > 0) {

        runActive = true;

        runStartTime = now;

        zeroIntervals = 0;

        rpmSum = 0;
        rpmSamples = 0;

        maxRPM = 0;
        maxMPH = 0;

        digitalWrite(runningLed, HIGH);
        digitalWrite(finishedLed, LOW);

        Serial.println();
        Serial.println("================================");
        Serial.println("         RUN STARTED");
        Serial.println("================================");
        Serial.println("30 second timer started!");
        Serial.println();
      }

      return;
    }

    // ---------------------------------
    // RUN IS ACTIVE
    // ---------------------------------

    unsigned long elapsed = now - runStartTime;

    // ---------------------------------
    // CALCULATE RPM
    // ---------------------------------

    int rpm = 0;

    if (pulses > 0) {

      rpm = (pulses * 60000L) /
            RPM_INTERVAL /
            magnetsPerRevolution;

      // We got movement, reset zero counter
      zeroIntervals = 0;

    } else {

      // No pulses this interval
      rpm = 0;

      zeroIntervals++;

    }

    // ---------------------------------
    // CALCULATE MPH
    // ---------------------------------

    float circumferenceMM =
      rollerDiameterMM * 3.14159;

    float mph =
      rpm * circumferenceMM * 60.0 /
      1609344.0;

    // ---------------------------------
    // DISPLAY LIVE DATA
    // ---------------------------------

    Serial.print("Time: ");
    Serial.print(elapsed / 1000.0, 1);

    Serial.print("s | RPM: ");
    Serial.print(rpm);

    Serial.print(" | MPH: ");
    Serial.print(mph, 2);

    // Tell us if this is startup data
    if (elapsed < STARTUP_EXCLUSION) {
      Serial.println(" | STARTUP");
    } else {
      Serial.println(" | DATA");
    }

    // ---------------------------------
    // RECORD MAXIMUMS
    // ---------------------------------

    if (rpm > maxRPM) {
      maxRPM = rpm;
    }

    if (mph > maxMPH) {
      maxMPH = mph;
    }

    // ---------------------------------
    // RECORD AVERAGES
    // ---------------------------------

    // Only record averages after startup period
    if (elapsed >= STARTUP_EXCLUSION) {

      if (rpm > 0) {

        rpmSum += rpm;
        rpmSamples++;
      }
    }

    // ---------------------------------
    // STOP IF ZERO FOR 2 SECONDS
    // ---------------------------------

    if (zeroIntervals >= ZERO_INTERVAL_LIMIT) {

      Serial.println();
      Serial.println("No movement detected for 2 seconds.");

      finishRun(false);

      return;
    }

    // ---------------------------------
    // STOP AT 30 SECONDS
    // ---------------------------------

    if (elapsed >= TEST_DURATION) {

      finishRun(true);

      return;
    }
  }
}

// =========================
// FINISH RUN
// =========================

void finishRun(bool completed) {

  runActive = false;

  digitalWrite(runningLed, LOW);
  digitalWrite(finishedLed, HIGH);

  // Calculate averages
  float avgRPM = 0;

  if (rpmSamples > 0) {
    avgRPM = (float)rpmSum / rpmSamples;
  }

  float circumferenceMM =
    rollerDiameterMM * 3.14159;

  float avgMPH =
    avgRPM * circumferenceMM * 60.0 /
    1609344.0;

  Serial.println();
  Serial.println("================================");

  if (completed) {
    Serial.println("       30 SECOND RUN COMPLETE");
  } else {
    Serial.println("          INCOMPLETE RUN");
  }

  Serial.println("================================");

  Serial.print("Run Time: ");

  if (completed) {
    Serial.println("30.00 seconds");
  } else {
    unsigned long actualTime =
      millis() - runStartTime;

    Serial.print(actualTime / 1000.0, 2);
    Serial.println(" seconds");
  }

  Serial.println();

  Serial.println("--- RESULTS ---");

  Serial.print("Average RPM: ");
  Serial.println(avgRPM, 1);

  Serial.print("Average MPH: ");
  Serial.println(avgMPH, 2);

  Serial.print("Max RPM: ");
  Serial.println(maxRPM);

  Serial.print("Max MPH: ");
  Serial.println(maxMPH, 2);

  Serial.println();

  if (!completed) {
    Serial.println("Run was NOT counted as a valid");
    Serial.println("30-second test.");
  } else {
    Serial.println("Valid 30-second test.");
  }

  Serial.println();
  Serial.println("================================");
  Serial.println("Ready for next run.");
  Serial.println("================================");
  Serial.println();

  // Reset statistics for next run
  zeroIntervals = 0;
  rpmSum = 0;
  rpmSamples = 0;
  maxRPM = 0;
  maxMPH = 0;
}

// =========================
// HALL SENSOR INTERRUPT
// =========================

void countPulse() {

  pulseCount++;
}
V3's code goes here once I actually start building it — this'll be the horsepower calc.